As a designer it’s a rare indulgence to be told to “make it with any color you want”. Often I am working within a palette of someone else’s choosing, so I was super excited when Lorna’s Laces honored me with an opportunity to create my own custom color as part of their Color Commentary series. Even more so when we decided on February for its debut. February is the month I was born – actually today is my birthday.
For most of us birthdays are a natural time of reflection. A time to take note of how we’ve shown up in the world so far and set our intentions to course correct for the future. This color was inspired by my own birthday reflections and my desire to live a soft, vulnerable, and curious life. This is Afterglow – come on it’s Valentine’s Day, you knew I’d give it a cheeky name 😉
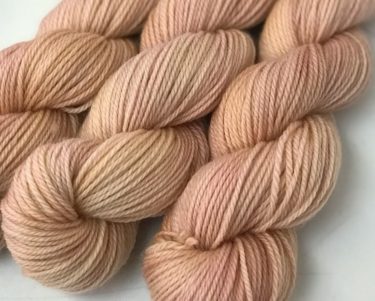
Afterglow is the lingering radiance of light left in the sky after the sun has set. The soft satisfaction of having achieved a hard earned goal. The flush of pink in the cheeks of a lover. It’s just right color to soften and warm any skin tone.
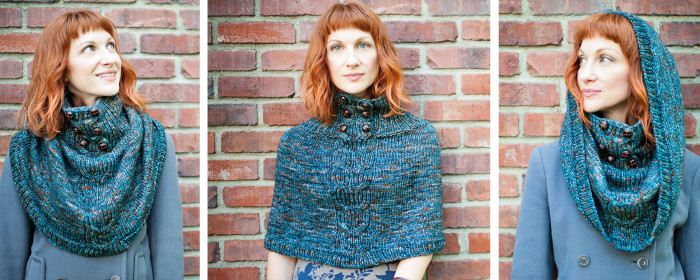
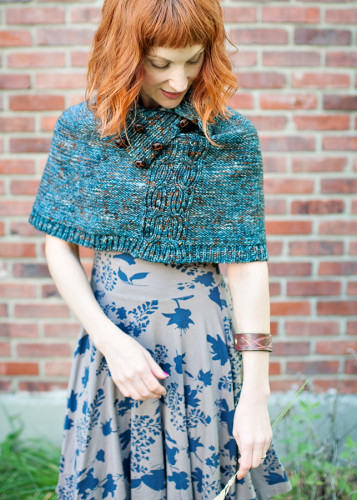
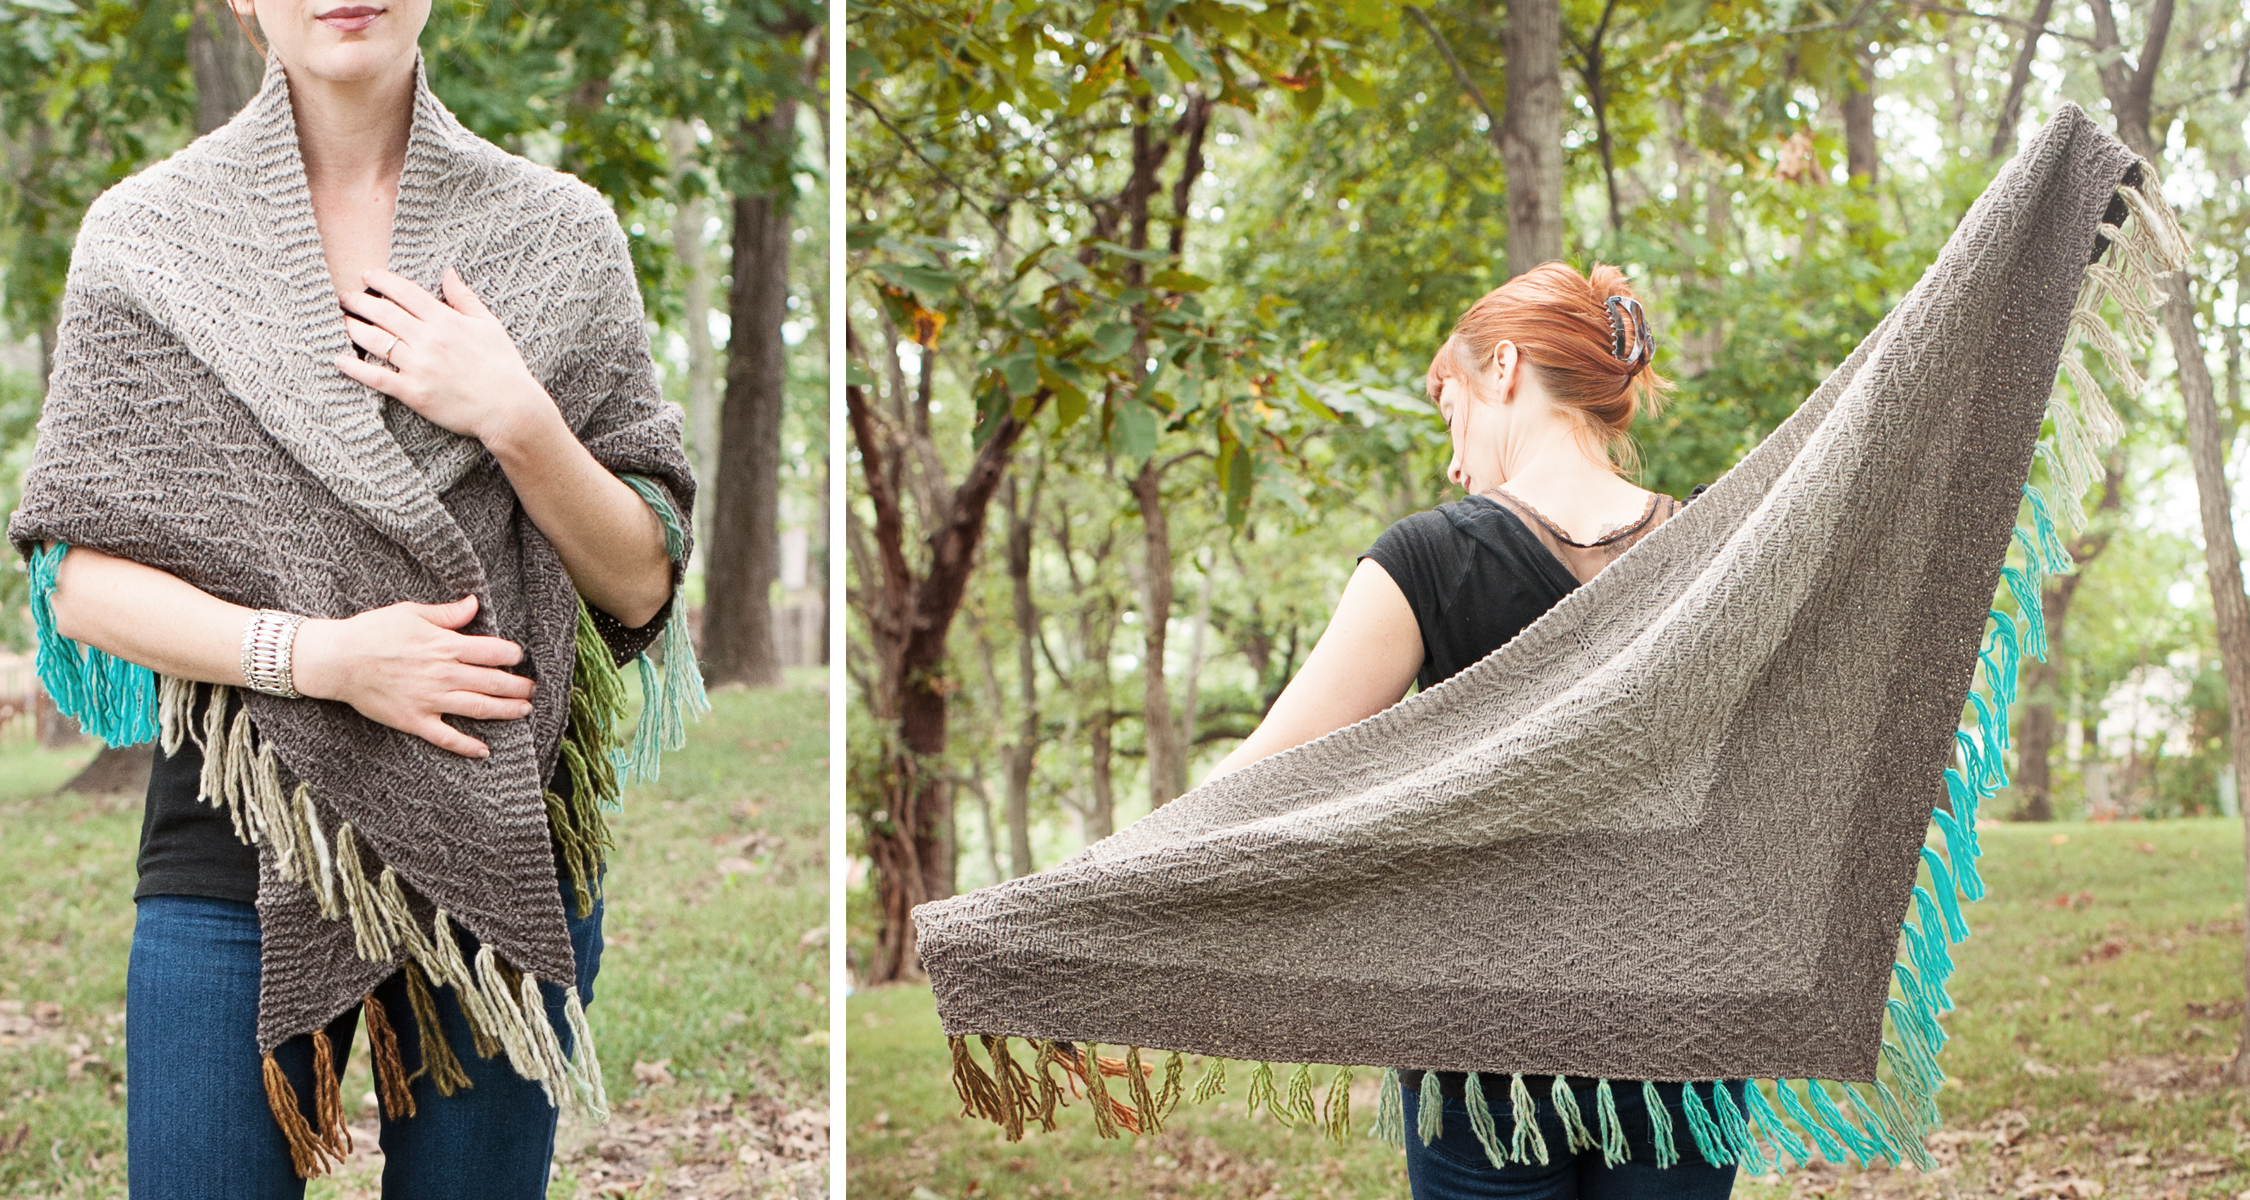
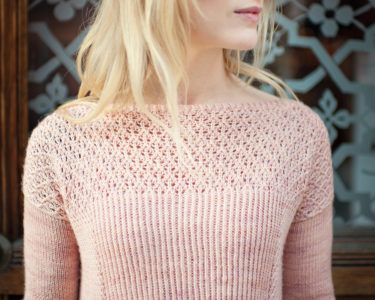
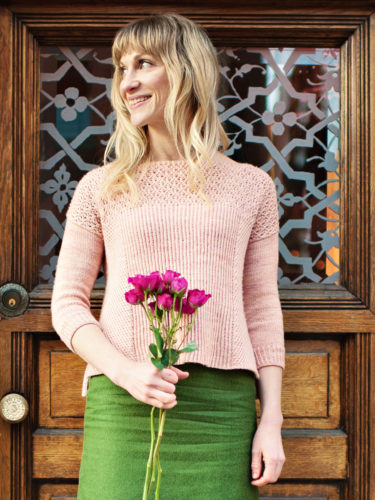
Continuing with that theme, I designed Cold Roses as an exploration in the contrast of softness and structure: softness in the silhouette and the lacy yoke, structure in the linear texture of the ribbing and a split high-low hem. This sweater has no waist shaping. Its flattering feminine lines are created with careful placement of various ribbed stitch patterns combined with the drape of the light fabric and positive ease. It is designed to be worn with 10-16″ of positive ease in the bust. In these photos I’m wearing it with about 10″ of ease.
With its simple shape, the length, size of the neck opening, and sleeve size are very easy to modify to suit your shape and taste – notes are included in the pattern to help you get a good fit. To simplify checking gauge across several stitch patterns, I included separate instructions for making a swatch that uses all the main stitches for the sweater body.
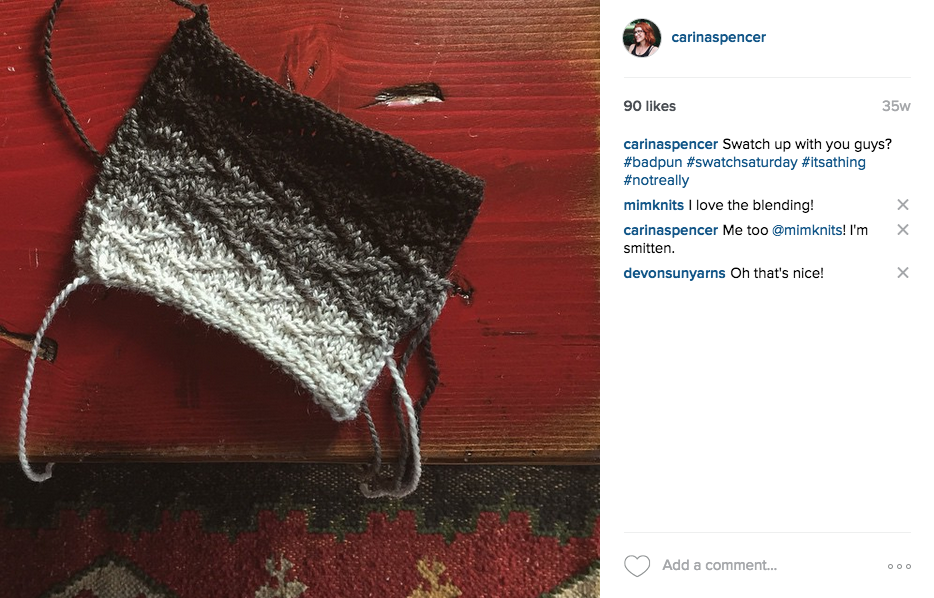
Recently I’ve been working toward paring down my wardrobe to fewer, more flexible pieces, so it was also my goal to design a highly versatile sweater that was as easy to dress up as to wear casually. I’ll be posting examples of the many ways to style Cold Roses on my Instagram page, so please follow along @carinaspencer for inspiration! Pick the pattern up here or on Ravelry!